Creating your first Wasm module
参考:《WebAssembly in action》
针对Wasm如何与JS交互。
示例C代码:
#include <stdlib.h>
#include <stdio.h>
#include <emscripten.h>
int IsPrime(int value){
    // If the number specified is 2, indicate that it's a prime (it's the only even number
    // that is a prime)
    if (value == 2){
        return 1;
    }
    // If 1 or less is specified or an even number is specified then the current number is not a prime
    if (value <= 1 || value % 2 == 0){
        return 0;
    }
    // A prime number is only divisible evenly by 1 and itself so skip 1 and 2.
    // Only check odd numbers and stop once we've reached the square root of the number
    // (becomes redundant to check any numbers after that)
    for (int i = 3; (i * i) <= value; i += 2){
        // The current number is evenly divisible into value. value is not a prime number
        if (value % i == 0){
            return 0;
        }
    }
    // The number could not be divided evenly by any number we checked. This is a prime number.
    return 1;
}
int main(){
    int start = 3;
    int end = 100000;
    printf("Prime numbers between %d and %d:\n", start, end);
    // Loop through the odd numbers to see which ones are prime numbers
    for (int i = start; i <= end; i += 2){
        // If the current number is a prime number then pass the value to the console
        // of the browser
        if (IsPrime(i)){
            printf("%d ", i);
        }
    }
    printf("\n");
    return 0;
}
1. HTML Template
只生产Wasm和JS:
emcc calculate_primes.c -o js_plumbing.js下面从零创建一个HTML文件来调用JS和Wasm:
- 首先声明DocType:
<!DOCTYPE html>- 声明html tag, head tag与body tag,在其中引入js:
<!DOCTYPE html>
<html>
  <head>
    <meta charset="utf-8"/>
  </head>
  <body>
    HTML page I created for my WebAssembly module.

    <script src="js_plumbing.js"></script>
  </body>
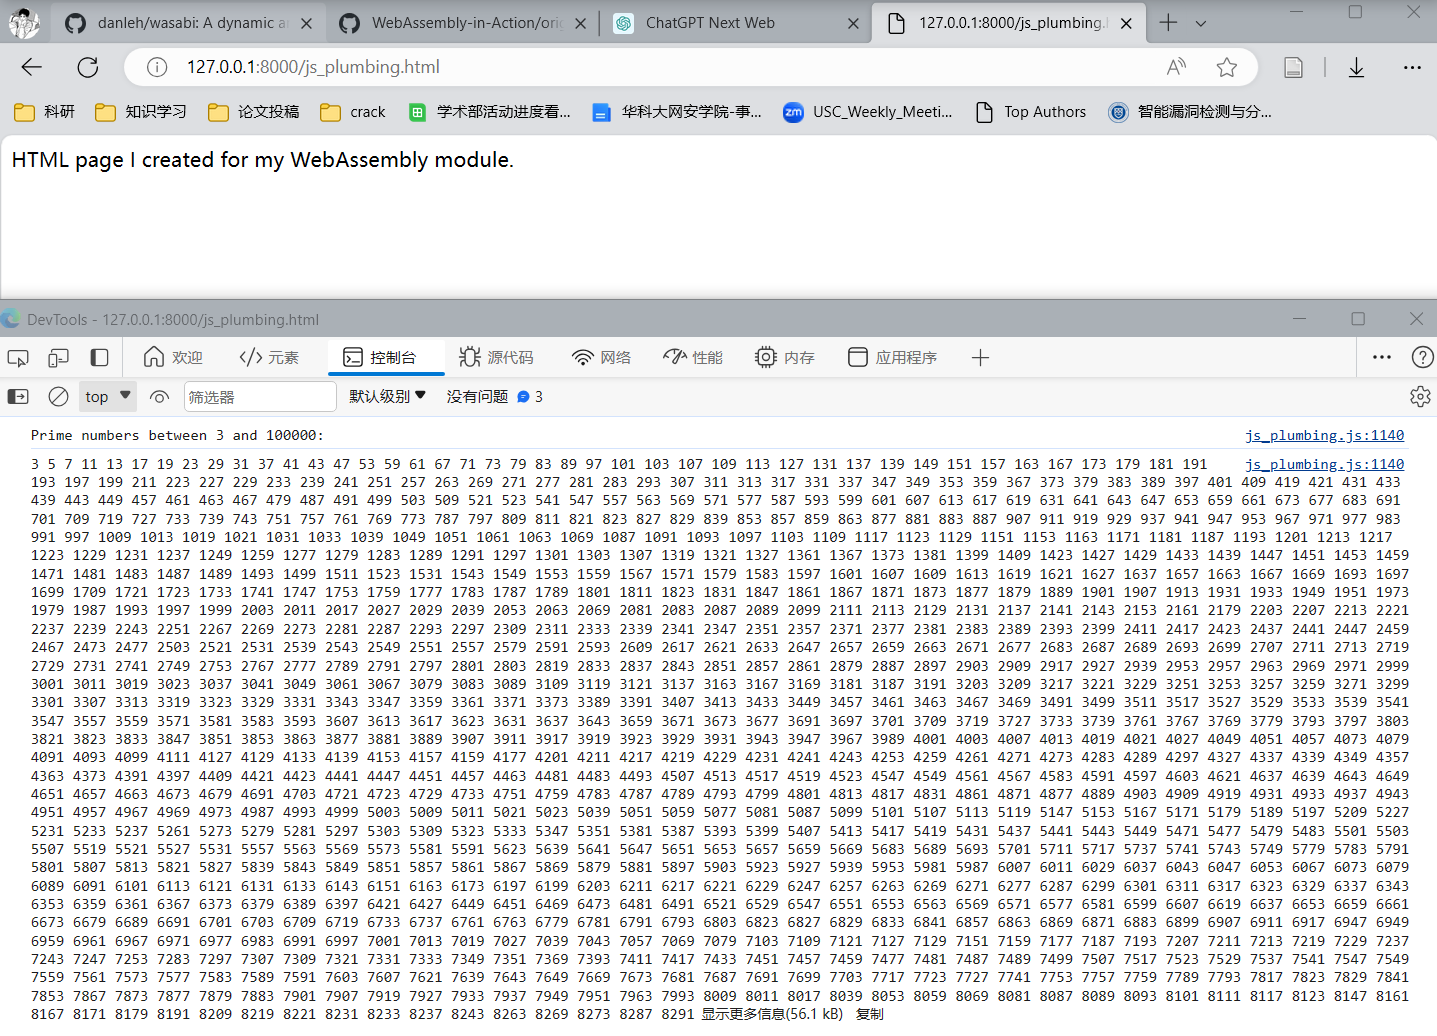
</html>以上是一个最简单的html模板,其仅仅引入了js_plumbing.js来加载和初始化Wasm模块。如果访问该html,Wasm的运行结果会被放到console里:

2. JavaScript plumping file
样例代码:
int Increment(int value)
{
  return (value + 1);
}
可以看到,这个C程序没有引入任何C标准库,甚至没有main函数。
只生成Wasm:
emcc side_module.c -s SIDE_MODULE=2 -O1 -s EXPORTED_FUNCTIONS=['_Increment'] -o side_module.wasm-s SIDE_MODULE=2表示Emscripten不会在Wasm中生成类似C标准库的任何函数;-O1使用O1优化等级,如果不使用任何优化在load wasm时会报错,因为其中会包含一些默认的import需求。加上任意等级的优化后编译器就会移除这些多余import指令;-s EXPORTED_FUNCTIONS=['_Increment']表示将Increment函数作为export function,这样其就可以被JS函数调用。Emscripten会在生成Wasm时在所有函数的函数名前加上‘_’,故这里也要加上;
注意,最新版本(2024.1.11)的Emscripten生成的wasm会与书中的不太一样:

右边最新的wasm需要js代码为其传递memory,而左边不需要;另外,右边的代码把Increment()函数整个优化掉了。建议练习的时候还是使用作者提供的代码:WebAssembly-in-Action/original-code/Chapter 3/3.6 side_module at master · cggallant/WebAssembly-in-Action (github.com)
下面为其创建JavaScript plumping code:
2.1 JS基础
2.1.1 Promise
Promise 是一个 ECMAScript 6 提供的类,目的是更加优雅地书写复杂的异步任务。当调用一个asynchronous function时,其在成功执行完毕(fulfilled)/出错(rejected)后会返回一个Promise object,这个Promise将会被之后调用。
Promise object有一个then方法,其包含两个参数,分别用作执行成功/失败后的回调函数:
asyncFunctionCall.then(onFulfilled, onRejected);例如:
asyncFunctionCall.then(function(result) {
	//...
}, function(reason){
    //...
});
Promise 类有 .then() .catch() 和 .finally() 三个方法,这三个方法的参数都是一个函数,
.then() 可以将参数中的函数添加到当前 Promise 的正常执行序列,
.catch() 则是设定 Promise 的异常处理序列,
.finally() 是在 Promise 执行的最后一定会执行的序列。
.then() 传入的函数会按顺序依次执行,有任何异常都会直接跳到 catch 序列:
new Promise(function (resolve, reject) {
    console.log(1111);
    resolve(2222);
}).then(function (value) {
    console.log(value);
    return 3333;
}).then(function (value) {
    console.log(value);
    throw "An error";
}).catch(function (err) {
    console.log(err);
});

// 执行结果:
// 111
// 222
// 333
// An error
2.1.2 Arrow function
箭头函数用于简化匿名函数:
(value1, value2) => { return value1 + value2 }或者更加简化:
(value1, value2) => value1 + value2 使用箭头函数配合Promise可以简化JS代码书写:
asyncFunctionCall.then(result =>
  asyncFunctionCall2() //asyncFunctionCall2() also returns a promise.
).then(result => {
    //... asyncFunctionCall2() fulfilled
}).catch((err) => {
	//... One of the calls in the chain was rejected.
});
2.1.3 Object shorthand
简单创建对象的方法:
const person1 = {};
const person2 = { name: "Sam Smith", age: 21 };
2.1.4 Wasm JS API
支持Wasm的浏览器都会内置WebAssembly JavaScript API,其包含了一个WebAssembly命名空间以及若干编译和初始化模块的函数等。Emscripten生成的JS plumping code会自动的帮助用户下载Wasm并初始化。
- 下载Wasm文件:
fetch("side_module.wasm")模块在被下载时就会被直接编译为机器码,fetch会返回一个Respond object,代表已经下载的Wasm模块。
- 初始化:
 WebAssembly.instantiateStreaming(fetch("side_module.wasm"),importObject).then(
     result => {
     const value = result.instance.exports._Increment(17);
     console.log(value.toString());
	}
); WebAssembly.instantiateStreaming接受两个参数,第一个是代表Wasm源文件的Response
object,第二个是一个可选的给Wasm传输import
function或全局变量的JavaScript object。
WebAssembly.instantiateStreaming如果执行成功会返回两个对象,module和instance,其分别为WebAs sembly.Module
object和WebAssembly.Instance
object。其中instance包含了例如export
function等数据,是我们重点关注的。
如上述JS代码中就通过instance object来访问了函数Increment()。
另一种初始化方式:
fetch("side_module.wasm") // Asks for the WebAssembly file to be downloaded
    .then(
    	// Asks for the file’s data to be turned into an ArrayBuffer
    	response => response.arrayBuffer())
    .then(
		bytes => WebAssembly.instantiate(bytes, importObject))
	.then(
		result => {
            const value = result.instance.exports._Increment(17);
            console.log(value.toString());
});使用WebAssembly.instantiate来初始化Wasm模块时,需要等待fetch函数完成并返回Response
object,接着将其转换为一个ArrayBuffer(第一个then),然后再将其初始化(第二个then)。
- 传递内存:
Wasm module使用的内存只能由runtime来传递给它,它自己并不能分配。
在浏览器中,内存一般通过WebAssembly.instantiate或WebAssembly.instantiateStreaming的第二个参数,也就是importObject来传递。
const importObject = {
	env: {
        // One page of memory initially and only allowed to grow to a max of 10 pages
    	memory: new WebAssembly.Memory({initial: 1, maximum: 10})
    }
};

WebAssembly.instantiateStreaming(fetch("test.wasm"),importObject)
    .then(result => { ... });
2.2 构建JavaScript plumping code
const importObject = {
env: {
 		__memory_base: 0,
 	}
};
WebAssembly.instantiateStreaming(fetch("side_module.wasm"),importObject)
     .then(
     result => {
         constvalue = result.instance.exports._Increment(17);
         console.log(value.toString());
});__memory_base为0表示你不会动态链接这个module。
2.3 构建HTML
<!DOCTYPE html>
<html>
	<head>
   	<meta charset="utf-8"/>
 	</head>
	<body>
   	HTML page I created for my WebAssembly module.
   <script>
     const importObject = {
       env: {
         	__memory_base: 0,
        }
     };
     WebAssembly.instantiateStreaming(fetch("side_module.wasm"),importObject)
         .then(result => {
            const value = result.instance.exports._Increment(17);
            console.log(value.toString());
     });
   </script>
 </body>
</html>
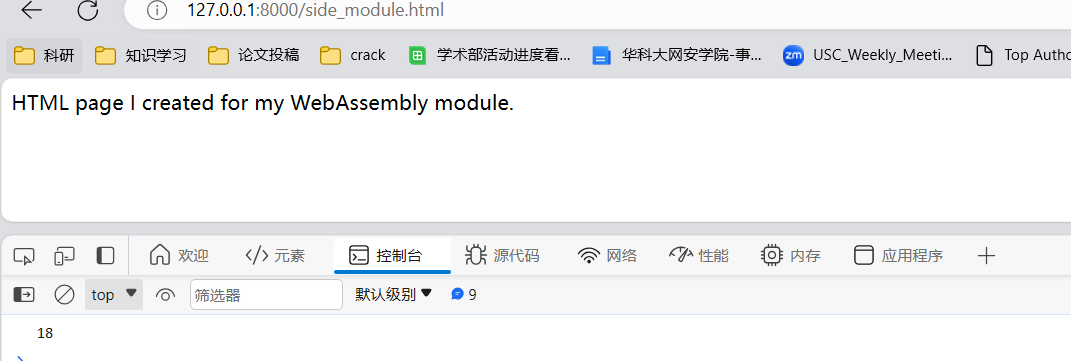
运行结果:

3. 如何测试Wasm是否可用
测试Wasm是否被浏览器支持,是否可以被初始化:
function isWebAssemblySupported() {
// Just in case a CompileError or LinkError is thrown
    try {
// If the WebAssembly object exists then...
        if (typeof WebAssembly === "object") {
// Create a minimal module with just the magic number
// (0x00 0x61 0x73 0x6D which is '\0asm')
// and version (0x01 0x00 0x00 0x00 which is 1).
// If the result is a WebAssembly.Module object (the binary data compiled) then...
        	const module = new WebAssembly.Module(new Uint8Array([0x00, 0x61, 0x73, 0x6D, 0x01, 0x00, 0x00, 0x00]));
        	if (module instanceof WebAssembly.Module) {
// Verify that we can instantiate the module.
// If we have an instance then tell the caller that WebAssembly is supported
                const moduleInstance = new WebAssembly.Instance(module);
                return (moduleInstance instanceof WebAssembly.Instance);
        	}
    	}
    } catch(error) {}
// If WebAssembly was supported we would have returned true above
    return false;
}
console.log((isWebAssemblySupported() ? "WebAssembly is supported": "WebAssembly is not supported"));测试WebAssembly.instantiateStreaming是否可用:
if (typeof WebAssembly.instantiateStreaming === "function") {
  	console.log("You can use the WebAssembly.instantiateStreaming function");
}else {
 	console.log("The WebAssembly.instantiateStreaming function is not available. You need to use WebAssembly.instantiate instead.");
}